I’ve spent years reviewing factory plucking protocols and sitting with stylists who fix hairlines that were either too dense or aggressively thinned. I’ve seen how a well-executed pre-pluck can make a lace unit read as “scalp” from two feet away—and how a bad one drives returns, relace costs, and customer frustration. If you’re manufacturing or scaling wig collections, the decision to go pre-plucked isn’t cosmetic; it’s operational and commercial.
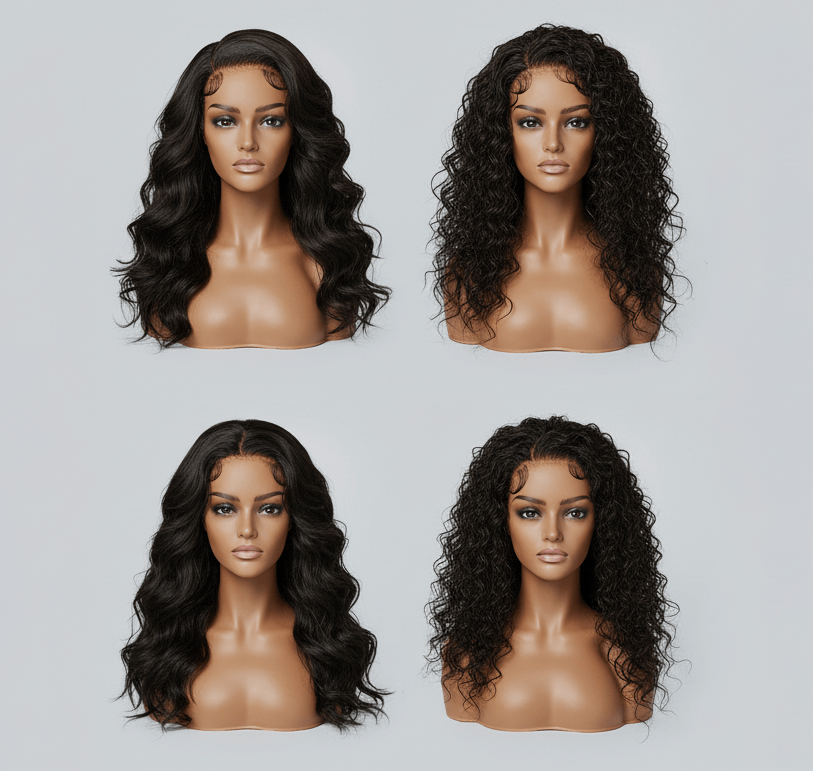
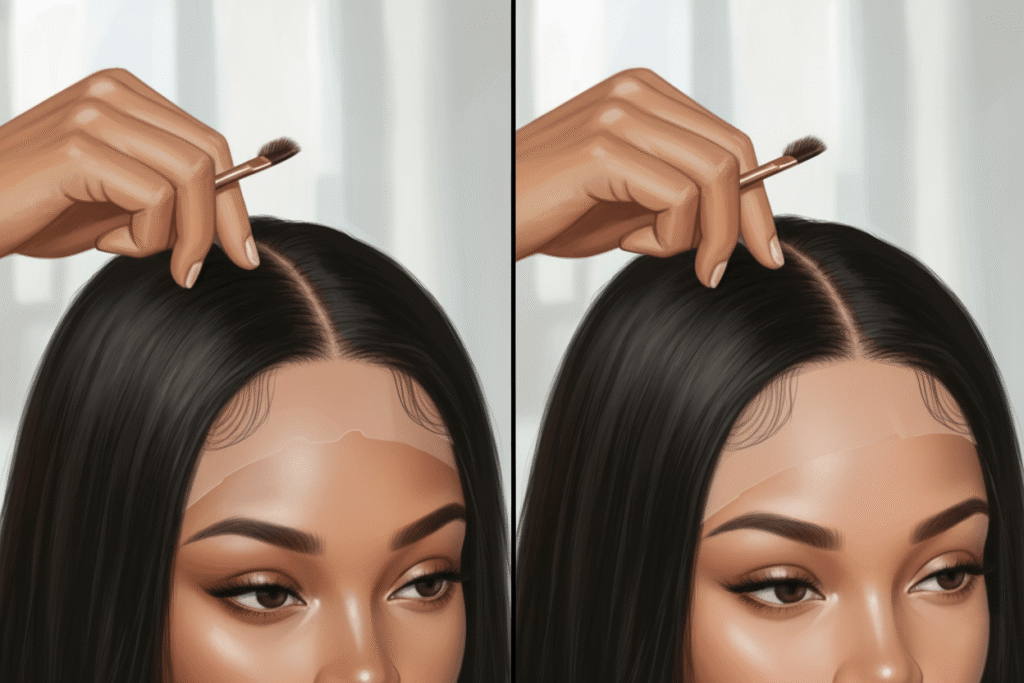
Pre-plucked hairlines deliver a more natural, tapered front density that reduces install time, lowers the risk of over-plucking damage, and improves wearability—especially for beginners and wear-and-go customers. They soften the lace-to-skin transition, reduce the need for heavy adhesives and makeup, and can enhance symmetry when plucking is standardized at the factory. For HD lace and transparent knots, pre-plucking minimizes visible knot buildup at the front, boosting overall lace invisibility.
In this piece, I’ll break down how pre-plucked hairlines impact customization time, baby hair density planning, conversion for wear-and-go lines, and QA methods to confirm symmetry before shipment. I’ll also quantify trade-offs and share the factory controls I’ve used to keep hairlines looking consistent across SKUs and batches.
Do pre-plucked hairlines reduce customization time for my clients?
What “time saved” looks like in real installs
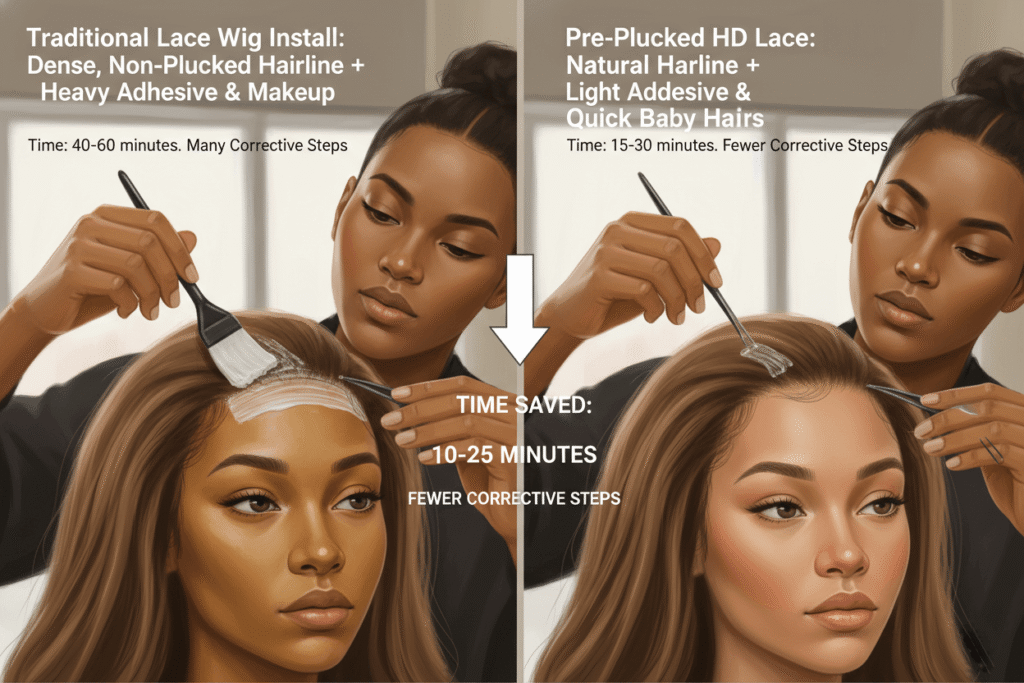
From my experience with salon partners and DTC brands, a balanced pre-pluck typically cuts 10–25 minutes from the install. The savings come from:
- Front density already thinned, so minimal tweezing needed
- Softer lace-to-forehead transition, reducing makeup/edge tinting
- Fewer adhesive layers—lighter holds often suffice because the hairline isn’t bulky
- Easier baby hair placement; edges lay faster and more seamless
Your notes align with what I see: the reduced, graduated front edge eliminates that uniform “wall” of hair and keeps the lace safer from over-plucking that causes shedding or bald spots. For HD lace, pre-plucking also prevents the front from showing knot buildup, improving invisibility and cutting corrective work.
Quantifying impact by lace and knot type
- HD/film lace + single-knot front: highest time savings (thin lace, small knots)
- Swiss lace + double-knot front: medium savings; still benefits from front taper
- Transparent lace + bleached front band: medium-high savings, less makeup needed
Buyer advisory: find the right taper, not the thinnest
- Over-thinning increases shedding and weakens lace—especially at the temple arcs
- Aim for a gradient: 30–40% of baseline density in the first 0–5 mm; 50–60% in 5–12 mm; return to full density by ~15–18 mm
- Keep a light stagger in knot positions to mimic irregular natural growth without exposing grids
How can I set baby hair density to look natural across SKUs?
Baby hair planning by face frame and cap size
Natural-looking baby hair is about density, fiber length, and placement across common face frames. I standardize by cap size, ear-to-ear measurement, and hairline shape (rounded vs flatter frontal) to keep SKUs consistent.
Recommended baby hair parameters
- Fiber length: 6–10 mm for tight edges; 10–15 mm for looser, “grown-out” look
- Density at front band: target 25–35% of front-row baseline knots
- Placement: staggered micro-strips (1–3 mm) along the frontal, with 8–12 mm gaps to avoid a continuous “beard” line
- Temple arcs: reduce density by ~10% compared to center front to avoid bulk
- Widow’s peak or slight contour: keep baby hair lighter at the point to avoid a “plugged” look
SKU-level consistency: factory controls that actually work
- Use density templates: laser-cut lace overlays or printed guides with dot matrices for knot positions along the front 2 cm
- Train ventilators on three baby hair profiles: Light (25%), Standard (30%), Full (35%)
- Lock a “no-bulk” rule at the first 2–3 mm: no double knots, no multi-strand pulls
- Edge direction: micro forward-ventilation for baby hair area, then standard back-ventilation starting at ~8–10 mm behind hairline
- QC rub test: edges must lay without lifting with light gel (no glue); if they spring up, density or direction is off
Visual patterning for SKU kits
Quick reference table for planners
| Parameter | Light Profile (Beginner) | Standard Profile (Most SKUs) | Full Profile (Styling-Heavy) |
|---|---|---|---|
| Baby hair density vs base | ~25% | ~30% | ~35% |
| Fiber length | 10–12 mm | 8–10 mm | 6–8 mm |
| Temple arc adjustment | -10% | -10% | -5% |
| Gap spacing between strips | 10–12 mm | 8–10 mm | 6–8 mm |
| Knot type at front 3 mm | Single | Single | Single |
| Best use case | Wear-and-go, beginners | Everyday units | Edge-focused styling users |
Will pre-plucked designs increase conversion for wear-and-go collections?
Why pre-plucked drives add-to-cart
Wear-and-go buyers value speed, believability, and low skill requirements. Pre-plucked hairlines address all three:
- Ready-to-wear look reduces perceived “work” and learning curve
- Fewer adhesives and lace makeup needed, which appeals to beginners
- Softer hairline raises the confidence that it will pass in daylight and high-resolution selfies
Your insight that thinner front density improves ventilation matters for comfort. A front that isn’t bulky sits flatter, breathes better, and avoids the “helmet” feeling—important for first-time users.
Conversion mechanics I’ve observed
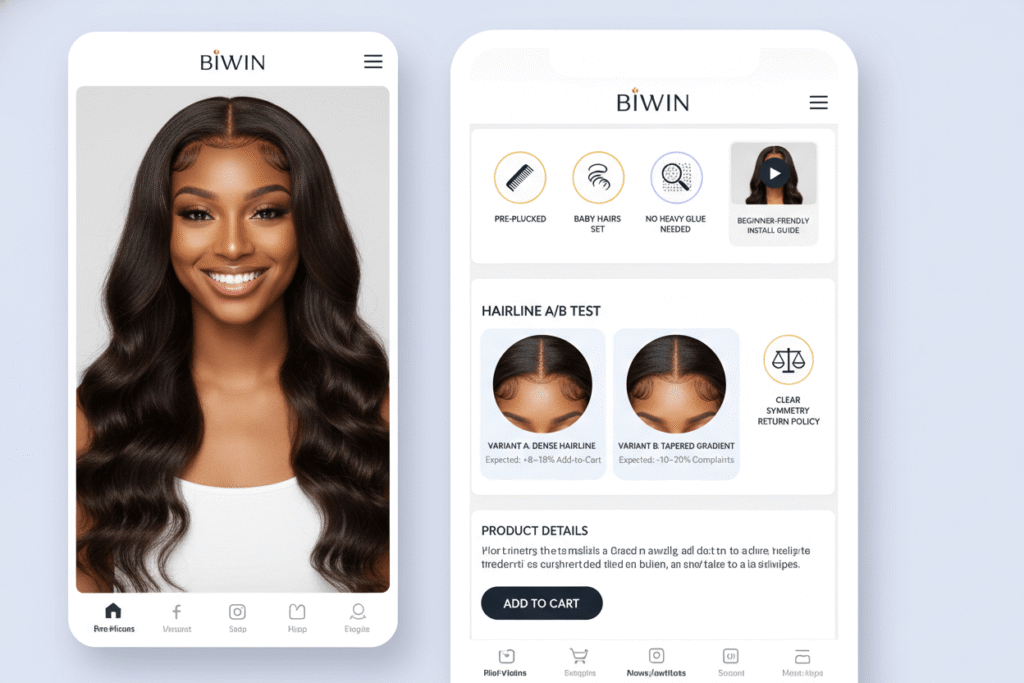
- Product page assets: macro shots of the hairline at 30 cm and 60 cm distances outperform generic lifestyle images
- Claims that resonate: “pre-plucked,” “baby hairs set,” “no heavy glue needed,” and “HD lace—no knot buildup at the front”
- Free install guides or short edge tutorials reduce bounce for new users
- Clear return policy on hairline symmetry lowers perceived risk
A/B test framework for validation
- Variant A: standard dense hairline; Variant B: pre-plucked gradient with baby hair standard profile
- Metrics: PDP click-to-cart, time on page, return rates due to hairline dissatisfaction, install-time feedback from salons
- Expected deltas: +8–15% add-to-cart, -10–20% post-purchase hairline complaints in beginner cohorts
What QA steps confirm symmetrical hairlines before shipment?
Symmetry is a process, not a promise
Factory plucking can deliver better symmetry than manual client-side work—but only if QA is precise. I set symmetry checks at ventilation, post-pluck, and pre-pack stages.
Measurement standards
- Center point reference: mark midline at the lace frontal center with a fine dot; all measurements anchor here
- Left/right recession points: 22–28 mm from midline for common sizes; allow ±2 mm tolerance
- Temple arcs: mirror arc apex height and spacing relative to ear tabs; ±1.5 mm tolerance
- Gradient bands: density targets at 0–5 mm, 5–12 mm, and 12–18 mm must match left/right within ±5% strands
Practical QA tests that catch issues
- Lightbox grid check: place unit on a backlit grid; misalignment shows instantly at knot rows
- Macro photo protocol: 30 cm and 60 cm frontal shots; compare pixel counts of visible knots left vs right
- Comb-through resistance test: identical tension (measured with spring scale) should pass evenly along both sides of the hairline
- Rub-and-lay test: apply a small amount of setting mousse; edges must lay symmetrically without gaps or bunching
- Shedding swipe: 10 swipes with a soft brush along the front band; shed counts must be within tolerance and symmetric
QA documentation
- Record cap size, lace type (HD/Swiss/transparent), knot type, density profile, and baby hair profile
- Symmetry sheet signed by ventilator and final QC tech; reject or rework if outside tolerance
- Spot-audit 10% of each batch with independent QC team
Example QA tolerance table
| Checkpoint | Metric | Tolerance |
|---|---|---|
| Recession distance L/R | mm from midline | ±2 mm |
| Temple arc apex height | mm difference L vs R | ±1.5 mm |
| Front gradient density | Strands vs baseline per band | ±5% |
| Visible knot count L/R | Pixel-count proxy (macro) | ±8% |
| Shedding at front band | Strands per 10 swipes | ≤5, L/R within ±2 |
Final considerations for suppliers and brand owners
- Don’t chase the thinnest look—chase the most stable gradient. Over-plucked fronts increase warranty claims.
- For HD lace, prioritize single knots at the first 2–3 mm and a staggered pattern; it makes your invisibility claims true in daylight.
- Standardize baby hair profiles by SKU and publish the profile in PDP specs. It reduces customer uncertainty and improves satisfaction.
- Train ventilators on symmetry measurement, not “feel”—repeatable metrics protect your margins.
If you implement pre-plucked hairlines with controlled gradients, calibrated baby hair density, and rigorous symmetry QA, you’ll cut install time, lift conversion on wear-and-go lines, and reduce returns—all while delivering the natural, realistic look your customers expect.