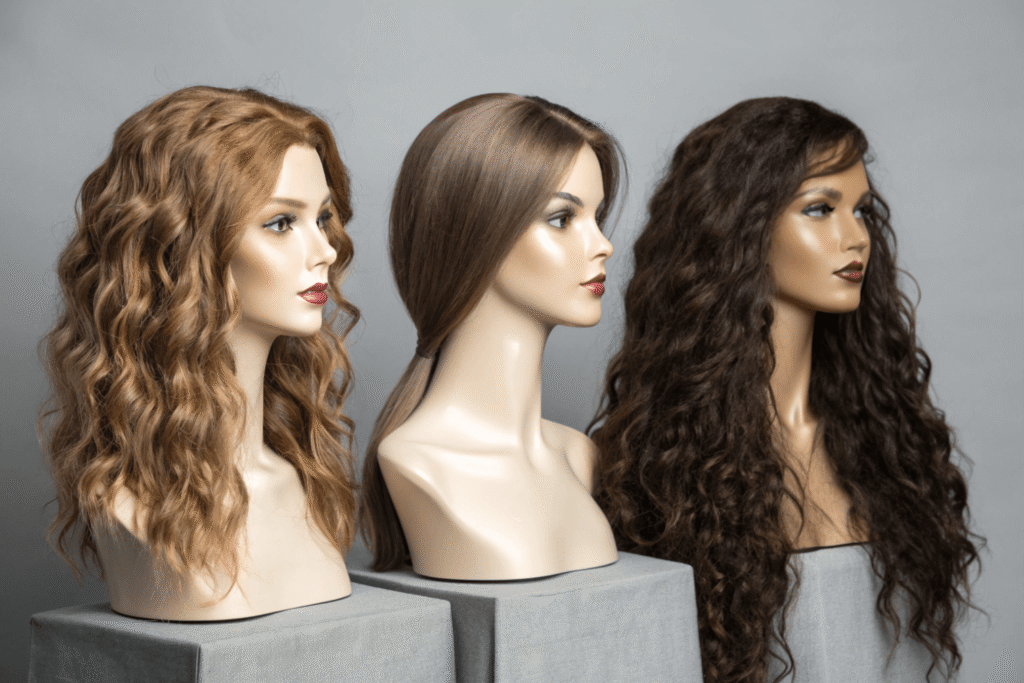
Many wig wearers notice that an otherwise beautiful human hair wig can look “off” simply because the cap isn’t sized right—too tight and you get tension and lace buckling, too loose and the hairline floats. Accurate head measurements are the quickest way to fix fit, comfort, and realism.
The fastest path to a perfect fit is to take five core measurements with a flexible fabric tape—circumference, front-to-nape, ear-to-ear over the top, ear-to-ear across the forehead, and temple-to-temple around back—while your hair is flattened under a wig cap. Keep the tape flat to the scalp, repeat each measurement twice, record the larger number, and compare to standardized cap sizes (petite/average/large).
Getting this right matters for both everyday wearers and B2B buyers. As a manufacturer working with salons and distributors, we see returns, lace damage, and poor reviews trace back to sizing more than any other single factor. For bulk orders, dialing in measurements and cap specs reduces returns, improves wearer comfort, and preserves brand trust.
Which measurements matter most: circumference, ear-to-ear, and front-to-nape?
From a maker’s perspective, three measurements drive 90% of fit outcomes: circumference, ear-to-ear over the top, and front-to-nape. Add ear-to-ear across forehead and temple-to-temple around back for precision, especially with HD lace frontals or full lace caps.

Tools and prep
- Use a flexible fabric tape measure; metal retractable tapes distort over curves.
- Flatten hair: braid, wrap, or wear a wig cap. Avoid puffiness that inflates numbers.
- Keep the tape flat and level; don’t compress skin or push into hair—just contact.
Step-by-step measurements
1) Circumference (most critical)
- Place the tape at the center front hairline.
- Wrap above the ears, around the nape, and back to the starting point.
- Keep the tape level all the way around.
2) Front-to-nape
- Start at the center front hairline.
- Run the tape over the crown to the lowest point of the nape.
- This controls front-to-back balance and lace position.
3) Ear-to-ear over the top (crown)
- Place the tape on the top edge of one ear.
- Pull it across the crown to the top edge of the other ear.
- Ensures the cap contours the parietal ridge without pressure ridges.
4) Ear-to-ear across the forehead
- From the hairline above one ear, across the forehead, to the same point above the other ear.
- Critical for lace fronts and temple placement.
5) Temple-to-temple around back
- From one temple, around the occipital bone, to the opposite temple.
- Helps the cap cradle the back of the head and sit flush at the nape.
Pro tips we use in the factory:
- Repeat each measurement twice and record the larger value to account for minor variation and ensure security.
- Note ear tab length and nape depth; small differences change adhesive placement and comfort.
- Record in inches for consistency with most size charts.
Common mistakes and quick fixes
- Tape angled down at the nape: re-level; a diagonal adds 0.25–0.5 inches.
- Measuring over voluminous hair: braid/wrap or cap first; you’ll oversize otherwise.
- Pulling too tight: if you can’t slide a finger under the tape, the number is too small.
- Ear-to-ear measured behind ears: keep the tape on the ear tops or hairline points specified above.
How do I pick small, medium, or large caps based on my numbers?
Ready-to-wear caps are standardized, but every brand has a tolerance and construction differences (stretch zones, lace type, strap placement). We advise buyers to start with circumference, then confirm the two ear-to-ear and front-to-nape numbers against the cap spec.
Standard cap size guidance
- Ultra Petite: 19–20″
- Petite: 20–21″
- Average: 21–22″
- Average-Large: 22–23″
- Large: 23–24″
Most “average” caps accommodate about 21.5–22.5″ circumference with 0.5–1″ adjustment via straps. If your circumference falls near a boundary, choose the larger size—micro-adjust down is easier than stretching up.
Quick comparison table (consumer + B2B friendly)
| Measurement | Petite (approx) | Average (approx) | Large (approx) | Notes from manufacturing |
|---|---|---|---|---|
| Circumference | 20–21″ | 21–22″ | 23–24″ | Choose larger if on the cusp; straps shrink, lace doesn’t stretch much |
| Front-to-nape | 12.5–13″ | 13–13.5″ | 13.5–14″ | Controls lace hairline and nape sit; shorter fronts lift |
| Ear-to-ear over top | 11.5–12″ | 12–12.5″ | 12.5–13″ | Impacts crown contour and pressure on parietal ridge |
| Ear-to-ear across forehead | 11–11.5″ | 11.5–12″ | 12–12.5″ | Temple placement; prevents ear tab irritation |
| Temple-to-temple around back | 14–14.5″ | 14.5–15″ | 15–15.5″ | Cap stability at nape; key for adhesive users |
How we advise retailers:
- If circumference is Average but ear-to-ear over top is Large, consider an Average-Large or a cap with stretch lace across the crown.
- HD lace fronts have less forgiveness in front-to-nape; when in doubt, size up or specify longer front panels.
- For high-density human hair wigs (130–180%), slightly larger caps improve ventilation and reduce pressure.
What adjustments help me fix slight tightness or looseness?
Minor fit issues are common and fixable. We design caps with adjustability points for this reason.
If the wig feels tight
- Loosen the back straps: most RTW caps have 0.5–1″ range. Start there.
- Swap the wig grip: thinner velvet grips reduce bulk; silicone-lined grips add stability with less thickness.
- Stretch the cap gently: place over a larger mannequin head overnight; avoid pulling lace fronts to prevent distortion.
- Reduce bulk under the cap: re-braid, use a thinner wig cap, or smooth hair wraps.
If the wig feels loose
- Tighten straps one notch at a time: uneven tightening causes the hairline to skew.
- Add a wig grip or silicone band: increases friction without adding much volume.
- Use adhesive strategically:
- Lace front—apply small dots of water-based adhesive at temples and center front.
- Full lace—add tape at nape for roll-up prevention.
- Sew-in elastic: a professional can add an elastic band from ear tab to ear tab to pull the lace forward snugly.
Quick troubleshooting table
| Symptom | Likely cause | Fast fix | Pro-level solution |
|---|---|---|---|
| Lace buckles at hairline | Front-to-nape too short or straps too tight | Loosen straps; reposition | Extend front lace or add elastic band |
| Ear tabs dig in | Ear-to-ear over top too short | Loosen straps; adjust tab bend | Replace tabs or re-block cap |
| Nape rides up | Temple-to-temple/back or circumference too small | Add tape/grip at nape | Increase nape depth; re-size cap |
| Cap slides | Circumference too large or hair not flattened | Tighten straps; use grip | Add internal combs/clips or elastic |
Should I request custom sizing for bulk orders to reduce returns?
For B2B buyers, custom cap specs are a proven lever to lower returns and increase wearer satisfaction—especially if your audience skews outside “average” or you sell high-density human hair units where fit issues amplify.
When custom sizing is worth it
- Your customer base includes petite (≤21″) or large (≥23″) heads.
- You carry HD lace fronts or full lace caps that tolerate less stretch.
- You’ve logged ≥8–10% returns citing fit, ear tab discomfort, or lace lifting.
- You offer adhesive wear or glueless installs—precision matters more here.
Customizations that deliver ROI
- Cap circumference bands in 0.25″ increments (e.g., 21.25″, 21.75″, 22.25″).
- Variable front-to-nape lengths (+0.25–0.5″) for different hairline heights.
- Adjustable ear tab lengths and flexible stays to reduce pressure.
- Nape depth options (+0.25–0.5″) for better adhesion and comfort.
- Mixed stretch zones: stretch mesh at crown, stable lace at hairline.
Implementation checklist for retailers and salons
- Collect five measurements in-store or via a guided PDF/video.
- Standardize: ask customers to measure twice, record the larger, and submit in inches.
- Map data to your SKU matrix: offer at least Petite, Average, Large in your top three styles.
- Pilot 50–100 units with custom bands; track return rates vs. your baseline.
- Educate sales teams: fit-first consultations reduce post-sale issues.
Conclusion
Accurate head measurements—taken with a flexible tape on flattened hair—are the foundation of a natural-looking, comfortable human hair wig fit. Prioritize circumference, front-to-nape, and ear-to-ear over the top; validate with temple and forehead spans; and choose the larger measured value when in doubt. Small fit issues are easy to correct with strap adjustments, grips, light adhesive, or professional elastic bands.
From years of helping salons and distributors, we’ve seen targeted cap sizing and modest custom options dramatically reduce returns and boost wearer satisfaction. If you’re a salon or distributor planning bulk orders, consider a fit-first SKU strategy and custom cap specs to protect margins and elevate your brand experience.