I’ve spent years inside wig factories and on the procurement side, fixing “helmet hair,” flat crowns, and bulky ends that sabotage realism. The pain points are consistent: uneven density maps from vendors, overprocessed fiber that frizzes when layered, and salon techniques that don’t translate to ventilated lace or machine wefts. What works in a salon on bio hair often fails on a wig because the hair direction, knotting, and cap construction dictate how volume and layers behave. When brand teams ask me why a style looks “wiggy,” it’s usually density placement and cutting technique—not the fiber itself.
To add realistic volume and layers, start with a crown‑heavy density map and graduate down toward the ends, then cut conservative, face‑framing and internal layers using point‑ or slide‑cutting to avoid blunt weight lines. Avoid bulk at the ends by thinning internally—not at the perimeter—using blending shears and channel‑cutting. For curls, layer by curl families and preserve clumping; finish with lightweight root‑lift products applied off the lace and lock shape with cool air to prevent residue. Request vendor density adjustments by zone (crown, parietal, nape, ends) and specify ventilation direction to support lift without over‑teasing.
I’ll break this into four practical sections: the right shears and debulking techniques, layering approaches for curl patterns, safe use of root volume sprays around lace, and vendor density specifications that prevent bulk while preserving longevity. I’ll weave in manufacturing realities—ventilation direction, knot types, and machine‑weft behavior—so you can brief stylists and suppliers with confidence.
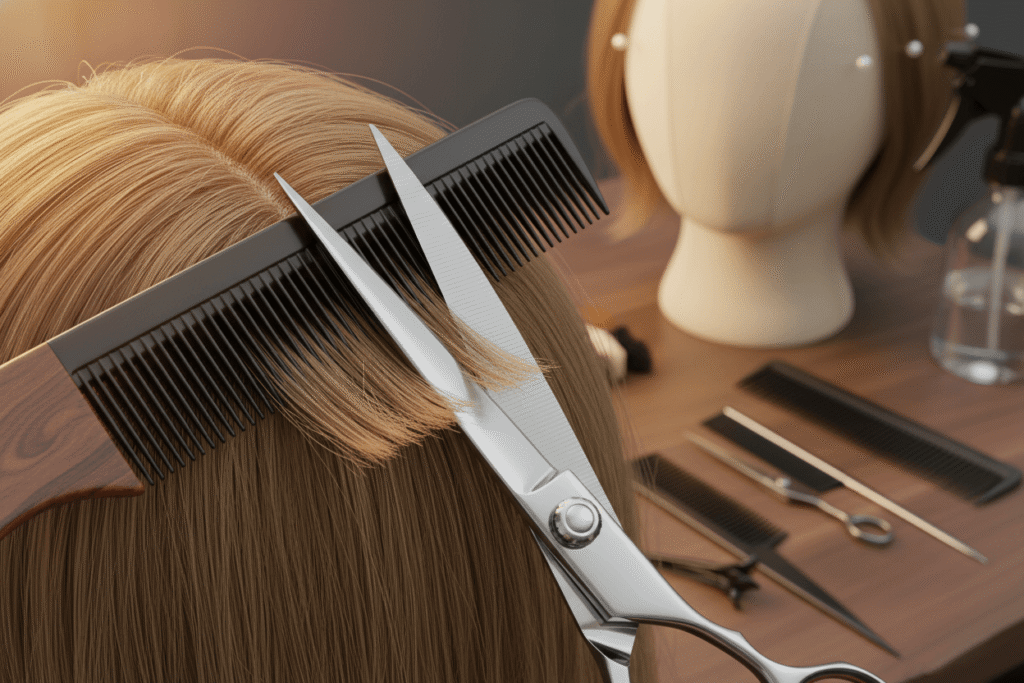
Which thinning shears and techniques avoid bulk at the ends?
When ends look heavy, it’s rarely an “ends problem.” It’s a distribution problem. Most wigs carry too much mid‑shaft weight that collapses into the perimeter. I debulk internally so the hemline stays full but airy.
- Tool selection
- 30–40 tooth blending shears: Best for soft diffusing without chew marks; ideal on human hair and heat‑friendly synthetics.
- 14–20 tooth chunking shears: Use sparingly inside dense sections to remove mass quickly; avoid on fine denier fibers.
- Straight shears for point/slide‑cutting: Precision control, no serration snagging lace knots.
- Razor (guarded): Only on human hair with good cuticle integrity; avoid on non‑Remy or acid‑processed hair to prevent frizzing.
- Techniques that keep the perimeter clean
- Internal debulking (halo method): Take horseshoe sections 1–2 cm above the hemline, use blending shears one pass mid‑shaft only. Do not thin the last 2 cm of the ends.
- Channel‑cutting: With straight shears, open/close as you slide through the interior in vertical channels to vent weight without linear steps.
- Point‑cutting: Tip of shears into the ends at 45° to break a blunt line—use minimally to avoid drop in density.
- Slide‑cutting on low tension: Glide from mid‑shaft to just before the ends; stop short to preserve the perimeter fullness.
- Knot‑safe zones: Keep thinning tools at least 5–8 mm away from lace knots and 3–5 mm from machine‑weft stitch lines to prevent shedding.
- Cap construction considerations
- Lace front/mono top: Work with hair direction—cut with the grain of ventilation to avoid creating flyaways that counter the knot angle.
- Machine‑wefted backs: Debulk in the space between wefts; avoid cutting directly on the stitch line.
- Quality control checkpoints
- Comb‑through test: If the brush catches on serration marks, switch to point/slide‑cutting; serrated shears can create micro‑frizz on processed hair.
- Gravity check: Shake the wig on a stand; if ends still clump, you removed length rather than weight—return to internal channels.
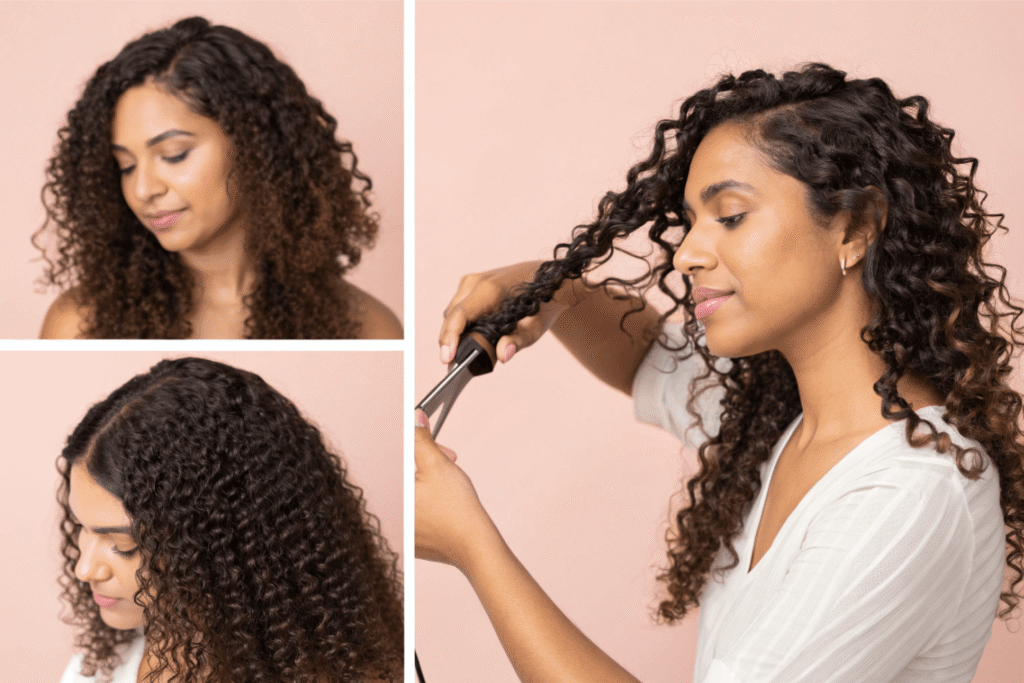
How do I layer curly textures without frizzing my wig?
Curly textures demand layering by curl family, not by “elevation angles” alone. The goal is expansion, not fuzzy volume.
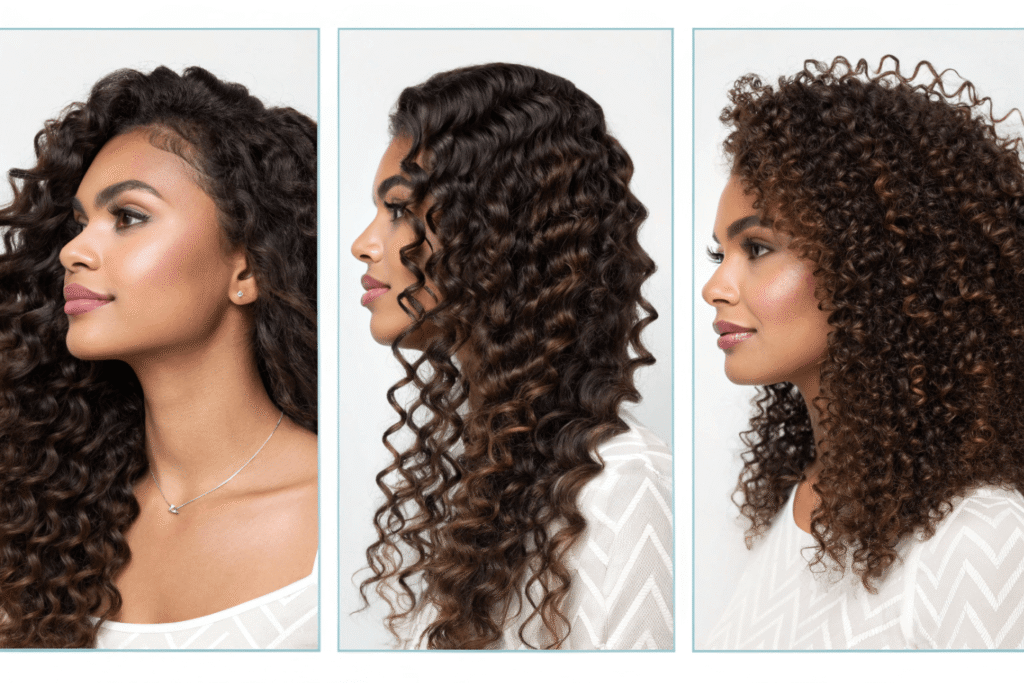
- Texture mapping by origin
- Indian temple hair (Type 2C–3A): Steam‑set waves; tolerates slide‑cutting and light point‑cutting.
- SEA raw curly (Type 3B–3C): Stronger spring; avoid razors; cut dry to read the coil.
- South American wavy (2B–2C): Often acid‑neutralized then steam‑waved; handle gently—prone to frizz if over‑thinned.
- Cutting workflow
- Hydrate and define: Apply a light, alcohol‑free curl cream; diffuse or air‑dry to let curls clump.
- Cut dry, in formation: Pick up whole curl clumps and snip at the ribbon, not through the coil—prevents halo frizz.
- Elevate minimally: Use low elevation to avoid exploding the silhouette; create internal “breathing slots” with channel‑cuts between clumps.
- Face‑framing curls: Start at cheekbone or jawline for movement; keep increments conservative (0.25–0.5 inch) because wig density drops quickly and hair doesn’t grow back.
- Mid‑shaft bend (heat‑friendly/human hair): Bend with curling iron at safe temps (human hair 160–180°C; HF synthetic per manufacturer, often 120–140°C), then brush out for soft expansion rather than tight curls.
- Anti‑frizz safeguards
- Avoid razoring processed curls; it lifts cuticles and invites fuzz.
- Use dry texture spray instead of heavy oils to maintain volume and avoid fiber clumping over time.
- Rotate styling patterns week to week to prevent set fatigue on steam‑processed curls.
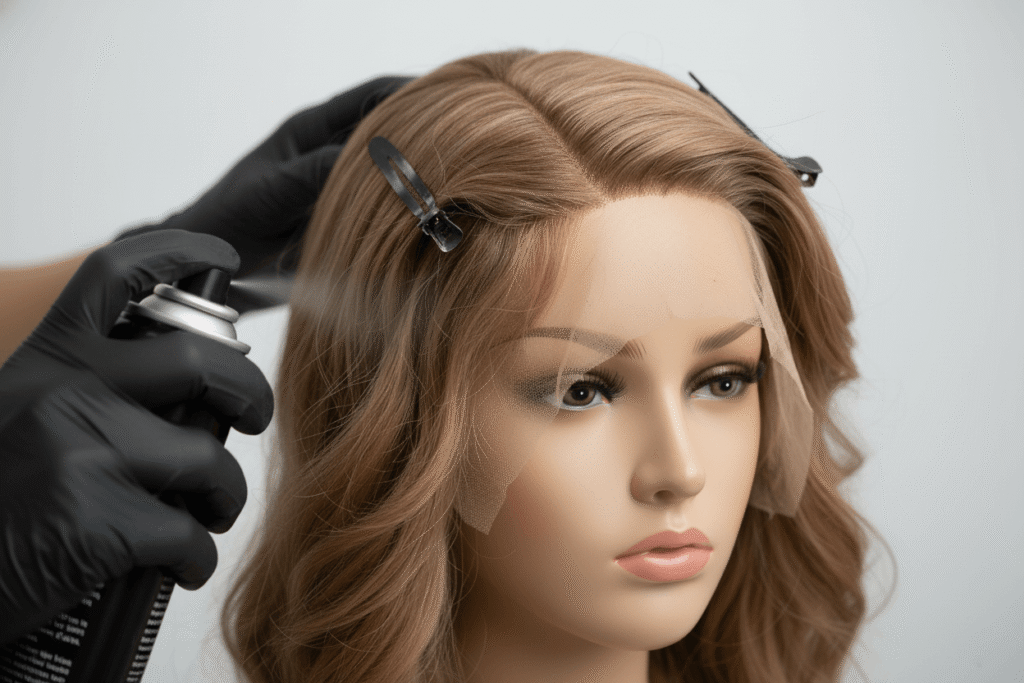
Can I use root volume sprays without residue on lace?
Yes—with placement and product choice. Lace is a mesh; residues migrate and dull the hairline. I treat lace like a fabric I have to keep clean.
- Product selection
- Lightweight volumizing mousse or root‑lift spray: Alcohol‑balanced, fast‑evaporating, minimal polymers.
- Avoid talc‑heavy powders or high‑resin sprays near lace; they accumulate on knots.
- Application protocol
- Off‑lace placement: Lift the top layer and apply 5–10 mm behind the lace line, not directly on knots.
- Micro‑sectioning: Work in small sections; backcomb roots underneath the top layer, then smooth over to hide teasing.
- Heat direction: Blow‑dry upward with a round brush; lock shape with cool air to set the polymer without cooking the lace.
- Clean‑up: If residue happens, use a damp cotton swab with 70% alcohol along the lace edge, then blot dry—protect the knots by avoiding soaking.
- Enhancers without products on lace
- Silicone or mesh root insert: Install a small insert at the crown to add height without overcutting.
- Ventilate/pluck the part line slightly and lightly powder knots to reduce bulk and enhance scalp realism—keep powder on the part, not the hairline.
Table: Root volume methods and lace safety
| Method | Lace Risk | Longevity | Best Use Case |
|---|---|---|---|
| Off‑lace root spray + blow | Low | Medium | Daily wearable lift |
| Underlayer backcomb | Low | Medium | Concealed crown volume |
| Root insert/topper | None | High | Longwear lift without product buildup |
| Roller/steam set | None | High | Structured volume on synthetic caps |
What density adjustments should I request from my vendor?
Vendors respond best to zone‑based density maps and ventilation instructions. I specify grams and percentages by area, plus direction, to build volume where it reads naturally.
- Density map by zone (lace front, mono top, machine‑weft back)
- Hairline (0–1 cm): 70–80% of base density; single knots or split knots for realism.
- Crown/parietal: 110–130% of base density to support lift without teasing.
- Sides/temples: 90–100% to avoid helmet silhouette.
- Nape: 80–90% to reduce stacking.
- Ends (last 5 cm): Request graduated density so visual weight tapers naturally.
- Ventilation direction and knotting
- Crown swirl offset 1–2 cm from center for natural lift.
- Forward‑then‑back ventilation at the hairline for soft pushback and hidden knots.
- Use double knots only in non‑exposed zones; single knots at part and hairline to avoid bulk.
- Fiber and origin notes
- Remy human hair with cuticle alignment for longevity; avoid acid‑bath processed hair if volume longevity is a priority.
- Heat‑friendly synthetics: Specify denier; heavier denier needs more graduation to prevent heavy ends.
- Example vendor brief
Table: Sample density specification (Medium cap, shoulder‑length)
| Zone | Density % (vs base) | Notes |
|---|---|---|
| Hairline 0–1 cm | 75% | Single knots, slightly irregular plug |
| Part line 1–2 cm | 85% | Mono top, ventilate back/diagonal |
| Crown/parietal | 120% | Swirl ventilation, lift support |
| Sides/temples | 95% | Avoid linear bulk |
| Back (mid) | 100% | Standard weft spacing |
| Nape | 85% | Graduated to prevent stacking |
| Ends last 5 cm | Graduated taper | Fewer returns; maintain perimeter full |
- Procurement checklist
- Request sample swatch to test root‑lift set/retention.
- Confirm weft spacing (mm) and lace knot type per zone.
- Define maximum return length to minimize fuzzy root bulk.
My field notes integrated into practice
- Choose a wig with higher crown density and graduated ends for natural lift without bulky tips.
- Add face‑framing layers starting at the cheekbones or jawline to break uniformity.
- Use point‑cutting or slide‑cutting to soften blunt edges and create airy layers.
- Tease/backcomb the root under top layers, then smooth over for invisible lift.
- Apply lightweight volumizing mousse/root‑lift spray at the base, blow‑dry upward, set with cool air.
- Install a small silicone/mesh root insert or use a volumizing topper for height without overcutting.
- Trim layers conservatively in 0.25–0.5 inch increments—density drops fast and hair won’t grow back.
- For heat‑friendly/human hair, bend mid‑shaft with safe temps, then brush out for soft expansion.
- Ventilate or pluck the part line and lightly powder knots to reduce part bulk and enhance scalp realism.
- Rotate styling patterns and use dry texture spray instead of heavy oils to maintain volume over time.

Conclusion
Realistic volume and layers are engineered—not guessed. I start with a crown‑forward density map, ventilate for lift, then cut internal channels and conservative face‑framing to move weight off the perimeter. Curly textures get layered by curl clumps to expand without frizz, and root‑lift products stay off the lace while heat and cool‑setting lock shape. Finally, I brief vendors with zone‑based densities and ventilation directions so the cap architecture supports the style. This combination delivers dimensional hair that reads natural on camera and in person, with durability your brand can stand behind.