I’ve customized thousands of lace fronts for brands and private-label clients, and the same question always comes up: how do we make the part read like real scalp at three feet, in 4K, and under retail lighting? Between knot size, lace type, density, and the way knots are tied, the difference between “installed” and “undetectable” comes down to small, technical moves executed in the right order. I’ll walk you through what actually works in production and on set—without trashing the lace or accelerating shedding.
To create a natural parting on lace front human hair wigs, align the lace flat, part along knot direction, pluck sparingly for a tapered density, and set the split with controlled heat and product. Tint the lace to your scalp tone, lightly bleach or conceal knots along the part, and use a wax stick plus low-heat hot comb to flatten without scorching.
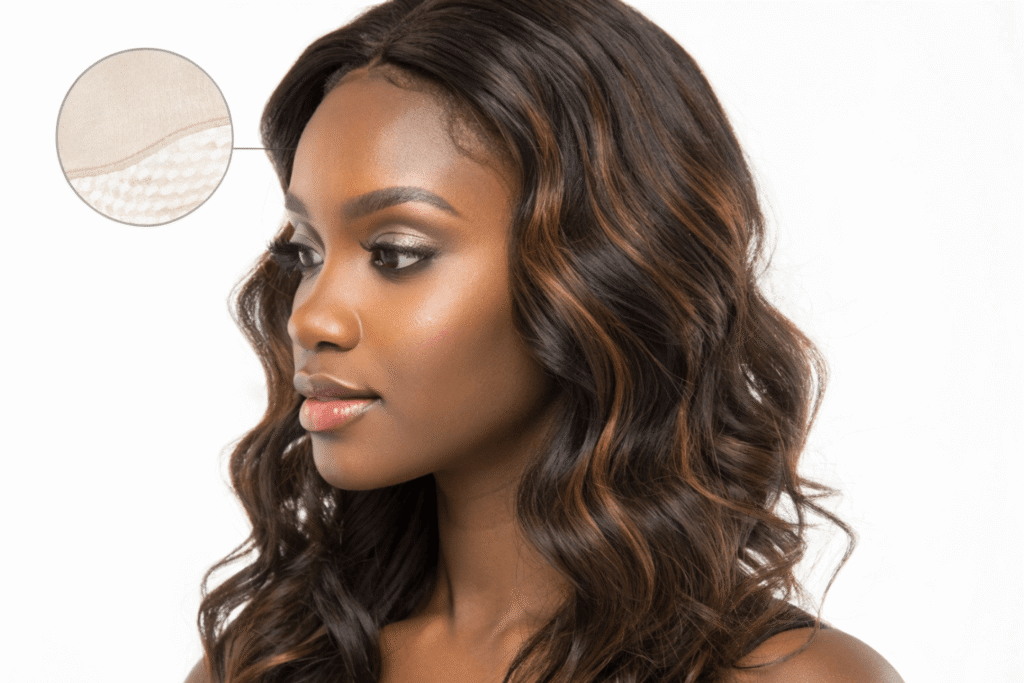
For realism under bright lights, use HD or fine Swiss lace where budget allows, disguise the grid with zigzag or curved parts, and finish with matte powders and a knot-sealing spray to lock results in.
Below I break down plucking and tinting methods, safe hot-comb technique, when HD lace is worth it, and how to defeat grids and knot shadows under unforgiving lighting—using the exact steps I rely on for consistent B2B production quality.
What plucking and tinting tricks make my part look realistic?
Start with controlled prep and alignment
- Place the wig on a head form, align to your natural hairline, and secure so the lace lies flat without tension. This prevents warping and keeps knots from lifting when you manipulate the part.
- Slightly mist the parting area. On damp fibers, a fine-tooth rattail comb will define a cleaner line with less stress on the knots.
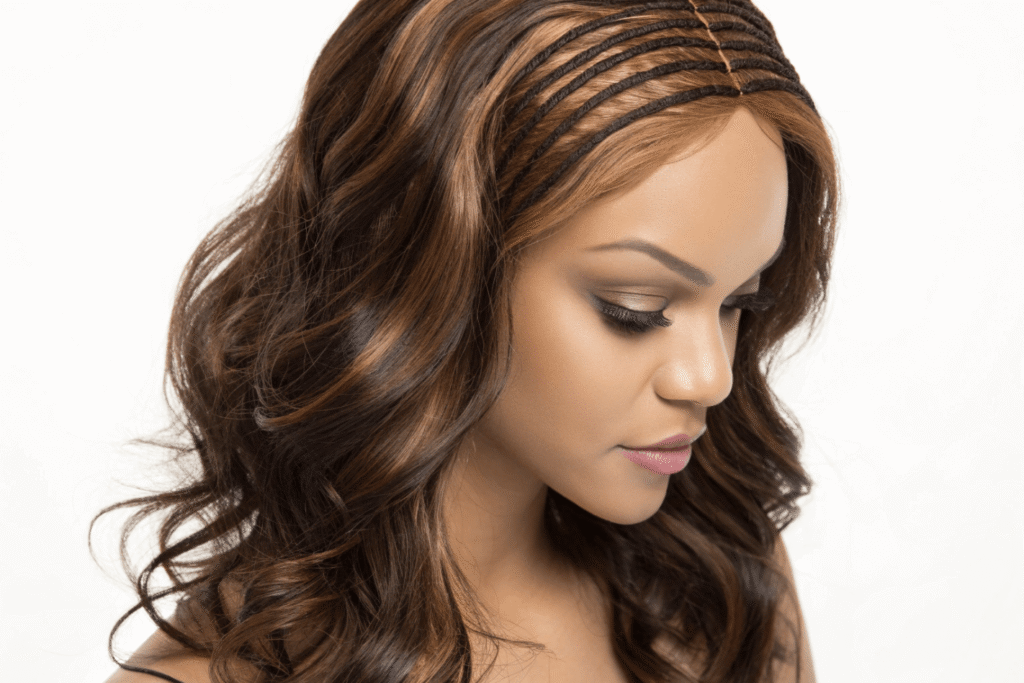
Part with the knot direction, not against it
- Use the tail of the comb to trace the part along the direction the knots were tied. Fighting the knot orientation increases shedding and creates stubborn “bounce-back.”
- For side parts, shift the wig on the head instead of forcing a new direction. Then define and set only the new part path.
Pluck for tapered realism—behind the line, not on it
- With fine tweezers, pluck sparingly from just behind the hairline to thin dense knots and create a gradual, irregular edge that mimics natural scalp density. Avoid “railroad tracks.”
- Create a zigzag or slightly curved part rather than a ruler-straight line. This breaks up the lace grid optically and reads more like natural growth.
Tint lace and knots to match your scalp—not your face
- Apply lace tint spray or a thin layer of foundation/concealer that matches your scalp tone to the underside or top of the lace along the part. Set with translucent powder to reduce shine.
- If knots are dark, lightly bleach only along the part to soften dots. After bleaching, deep-condition and seal with a knot-sealing spray to minimize future shedding and oxidation.
Set the split for a flat, “grown-from-scalp” look
- Apply a small amount of mousse or light-hold gel along the part and press hair down with a comb while using a warm (not hot) blow-dryer. This trains fibers without cooking the lace.
- Finish with a wax stick or lightweight pomade around the part and hairline to tame flyaways. Use sparingly to avoid greasy lace.
Quick decision guide: tint vs. bleach vs. conceal
| Scenario | Best Approach | Why |
|---|---|---|
| Medium/light lace, moderate knot size | Tint + powder | Fast, low-risk, reversible |
| Dark knots on darker lace | Targeted bleach + seal | Reduces “polka dots” at the root |
| Ultra-fine HD lace, small knots | Concealer/powder only | Maintains lace integrity, minimal processing |
How do I use hot combs to flatten the top without burning lace?
Heat and barrier controls
- Temperature: Stay around 250–285°F (120–140°C) when working directly over lace. Human hair tolerates more, but lace and knots do not.
- Always use a comb barrier: Place a hard comb between the hot comb and lace, pressing hair down through the comb teeth. The plastic or metal comb absorbs the majority of direct heat.
Step-by-step flattening
1) Define the part on damp hair and pre-set with mousse/light gel.
2) With the comb barrier in place, pass the hot comb on LOW heat along the parting line—short, gliding passes.
3) Use the spine of the rattail comb to compress the part while the hair is warm, then let it cool.
4) Tie down with a silk scarf for 10–15 minutes to lock the split.
Product pairing that prevents re-puffing
- Use a light mousse first for shape memory, then a wax stick for surface control. Heavy oils soften knots and can wick into lace, causing glare and lifting edge adhesives.
Common heat mistakes to avoid
- Pressing the hot comb directly onto lace (melts mesh, loosens knots).
- Hovering too long in one spot (creates shine patches and heat blooms).
- Reheating daily at high temps (accelerates shedding and oxidizes bleached knots).

Should I choose HD lace for the most seamless hairline?
HD vs. Swiss vs. transparent lace in real use
- HD lace: Ultra-fine, best-in-class melt and camera invisibility. Downsides: more delicate, shorter service life, higher cost, and slightly less forgiving with adhesives and rough handling.
- Fine Swiss lace: Stronger than HD with good melt when tinted correctly. A smart balance for daily wear or rental/stock systems.
- Transparent lace: Durable and budget-friendly but often needs aggressive tinting and makeup to avoid a gray cast, especially on deeper skin tones.
Lace selection matrix (B2B perspective)
| Use Case | Recommended Lace | Rationale |
|---|---|---|
| Editorial/4K video, bright set lights | HD lace | Maximum invisibility for close-ups |
| Daily-wear retail units | Fine Swiss lace | Durability + good blend with tint |
| Entry-priced wholesale | Transparent or mid-grade Swiss | Cost control; relies on makeup/tint |
| Active clients, frequent installs | Fine Swiss | Better tear resistance at hairline |
My guidance
If your core KPI is on-camera invisibility and you can accept shorter replacement cycles, choose HD. For brands prioritizing returns and longevity, fine Swiss is the safer default. Regardless of lace type, you’ll still need tinting, strategic plucking, and knot softening along the part to reach “undetectable.”
How can I hide grids and knots under bright lighting?
Bright retail LEDs and studio Fresnels make even great installs betray their secrets. I focus on controlling three things: pattern, pigment, and reflectivity.
Break the pattern
- Create a zigzag or slightly curved part to interrupt the lattice. Even a subtle S-curve disrupts moiré on camera.
- Thin selectively behind the part for a tapered gradient. Avoid symmetrical “tracks” that cameras love to pick up.
Manage pigment at the root
- Targeted bleach on the part line (not the whole front) reduces dot contrast without over-processing the hairline.
- If skipping bleach, use scalp-tone concealer with a fine brush, then set with a matte powder to create a soft-focus root.
Kill shine, keep shape
- Matte powders beat flashback. After tint/concealer, dust a translucent or skin-tone powder into the part and press; don’t sweep.
- Use low-sheen products (mousse, wax stick) and avoid silicone-heavy serums on or near the lace.
Installation tricks that help under lights
- Place a thin layer of foundation on the scalp under the parting area before install for a believable underlay.
- After styling, tie down with a silk scarf 10–15 minutes; the compression smooths micro-flyaways that catch light as “sparkle.”
- Finish with knot-sealing spray post-bleach to stabilize and reduce future frizz at the root.
Field-tested workflow (condensed)
1) Mount and align the wig so lace sits flat without tension.
2) Dampen, then define the part with a fine rattail comb along knot direction.
3) Pluck sparingly from behind the hairline for a tapered density; choose a subtle zigzag or curve.
4) Apply mousse or light gel; warm blow-dry while pressing with a comb.
5) Wax stick lightly to tame flyaways.
6) Tint lace/knots to scalp tone; optionally micro-bleach just the part, then seal knots.
7) For side parts, shift the wig rather than fighting knot orientation; set only the new path.
8) Flatten with a hot comb on low heat using a comb barrier; tie down with a silk scarf 10–15 minutes.
By sequencing these small moves, you get a crisp, low-glare split that reads like real scalp in person and on camera—without sacrificing lace integrity or the wig’s service life.