I’ve spent years in wig manufacturing and post-production finishing rooms, watching what separates a clean, natural-looking trim from an expensive mistake. At the factory level, we always stabilize the unit, work dry and in micro-increments, and use purpose-built tools—because unlike bio hair, wig hair won’t grow back, and cap integrity is unforgiving. If you’re a brand owner or wholesaler creating at-home education for your customers (or a procurement manager auditing QC playbooks), the same fundamentals apply: control the setup, control the sectioning, and cut less than you think.
To cut and style a human hair wig at home safely, I secure the wig to a stable mannequin, detangle thoroughly, and only cut when the hair is completely dry using sharp hairdressing shears. I work in small, well-clipped sections, point-cut for natural ends, add layers with elevation and thinning shears for soft movement, and trim lace in a slow zigzag close to the hairline. I finish with light heat-styling within safe temps and wig-friendly products—always removing 1–3 mm at a time and checking symmetry constantly.
In the guide below, I’ll break down the tools and sectioning methods that prevent mistakes, how I thin and layer without stressing the cap, when to trim lace and baby hairs relative to styling, and clear thresholds for when to call a stylist—especially for premium units with European Remy or complex cap constructions. I’ll also share factory-informed checkpoints so you can replicate professional results at home.
What tools and sectioning methods help me avoid mistakes?
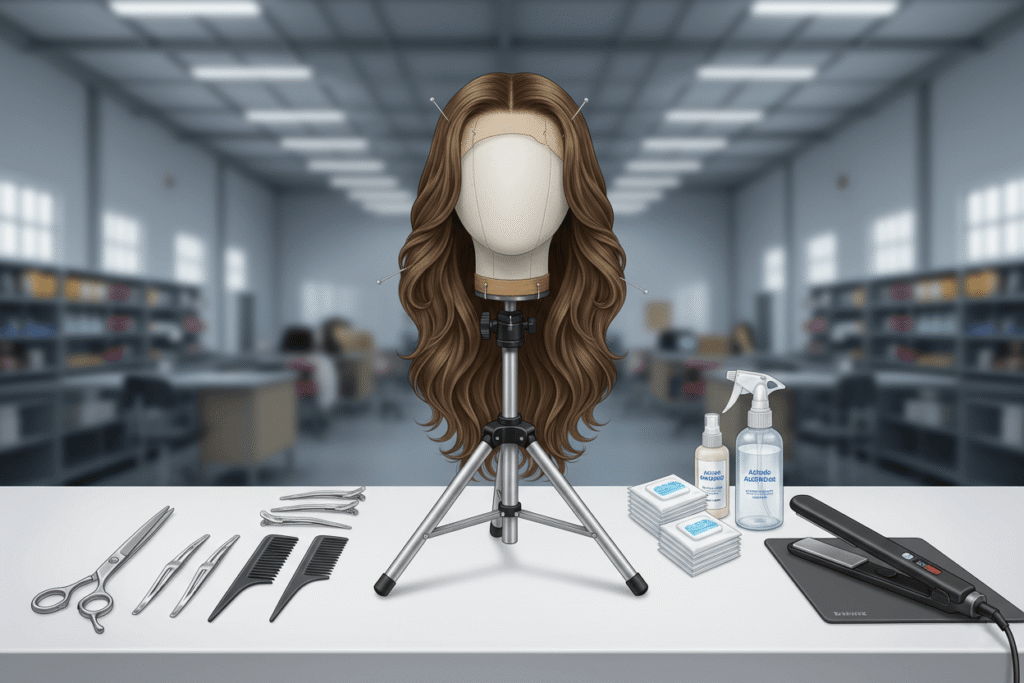
Non‑negotiable tools for safe, clean cuts
- Sharp hairdressing shears (no kitchen scissors—dull blades fray ends and push hair).
- Thinning/texturizing shears (for bulk removal and blending).
- Wide-tooth comb to detangle; fine-tooth comb for tension and precision.
- Canvas block head (matched to your head size) + tripod stand.
- T‑pins/wig pins to secure perimeter at ear tabs, nape, and front.
- Sectioning clips (metal duckbill or alligator).
- Alcohol wipes or clipper oil for tool hygiene.
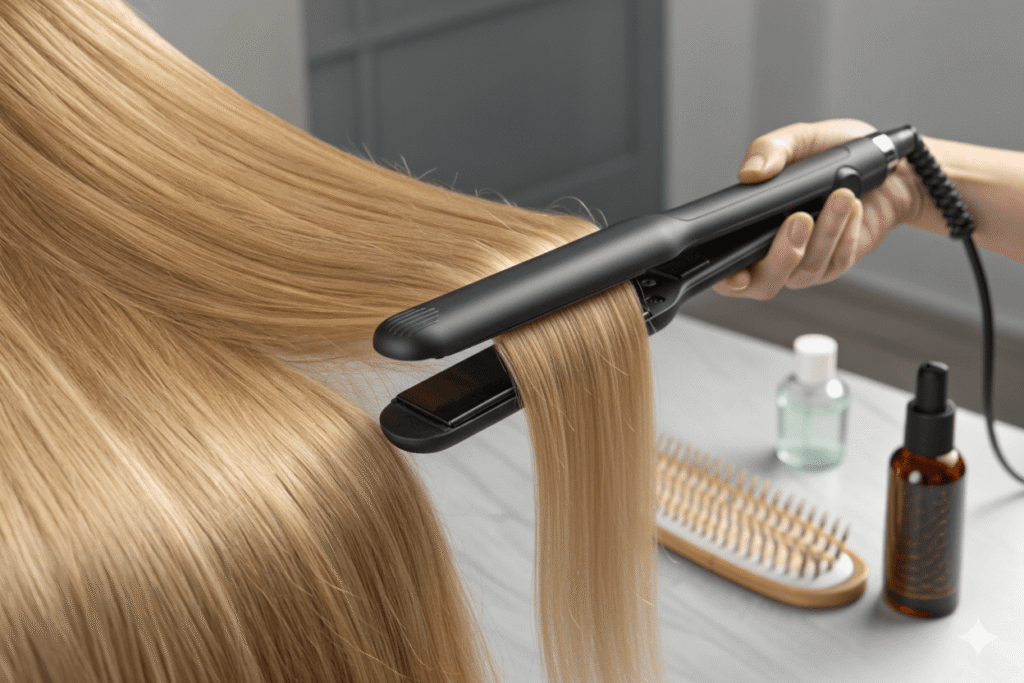
- Heat tools with digital control (flat iron/curling wand), plus heat protectant.
- Spray bottle (distilled water) for light misting only when styling, not cutting.
Pro move: Before any cutting, I map the wearer’s face shape and desired style. This informs fringe length, layer starting points, and bulk reduction zones. It’s the difference between a universal trim and a bespoke, face-framing result.
Sectioning that keeps you symmetrical
- Stabilize first: Mount the wig, align the center front, and pin at 12/3/6/9 o’clock.
- Create four quadrants: center part from front lace to nape; ear-to-ear from apex across crown.
- Work back to front: nape → sides → crown → top. The back becomes your guide length.
- Keep tension honest: Use a fine-tooth comb to hold consistent tension; uneven tension = uneven hems.
- Check fronts against each other: After every 2–3 snips, compare left vs right length and fall.
Cutting cadence that reduces risk
- Always cut on 100% dry hair for length and layers. Wet hair masks true length and spring.
- Trim in 1–3 mm passes. Reassess continuously. You can always take more—never add back.
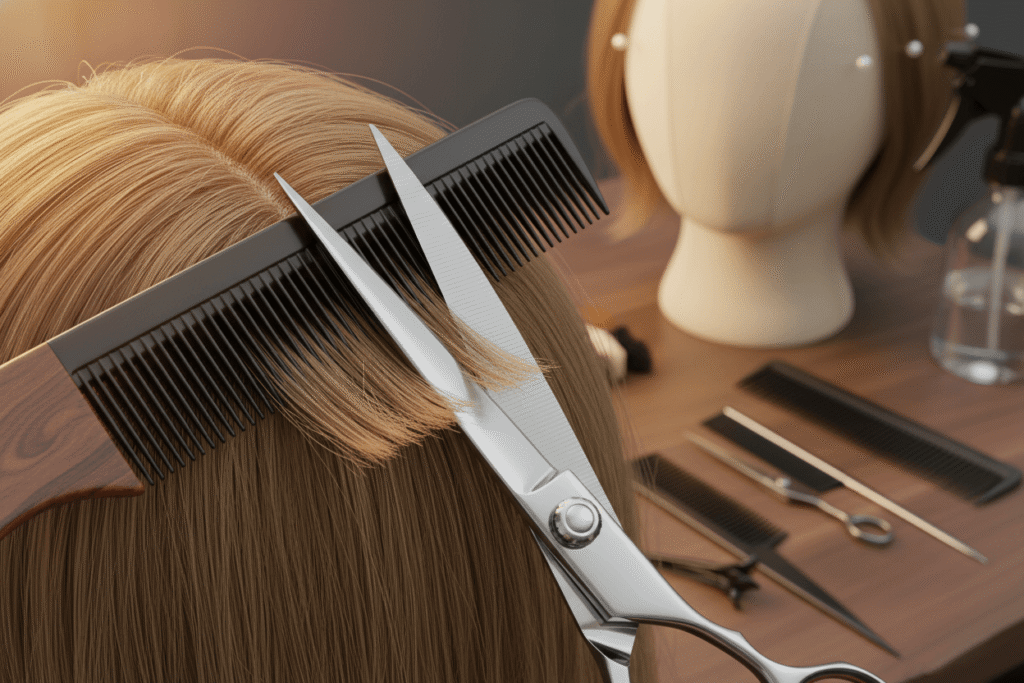
- Use point‑cutting for the perimeter. Vertical snips into the ends prevent that “helmet” line.
- For cohesion, carve a traveling guide (your last cut section) and mirror it side to side.
Table: Tools and their roles
| Tool | Primary use | Risk if misused |
|---|---|---|
| Hairdressing shears | Clean perimeter and length | Blunt lines, fraying with dull blades |
| Thinning shears | Debulking, blending layers | Holes/chew marks if too close to root |
| Fine-tooth comb | Tension, symmetry | Uneven lengths if skipped |
| Canvas block + tripod | Stability, accurate fall | Shifting cap leads to crooked hem |
How do I thin or add layers without weakening the cap?
The cap is your structure; compromise it and the wig loses longevity. I never cut near the knots, tracks, or hand-tied zones.
Layering for movement (without stress)
- Elevation dictates softness:
- 45° for subtle, 90° for moderate movement, >90° for airy top layers.
- Slide‑cutting on mid‑lengths and ends: With blades barely open, slide from midshaft to ends to diffuse weight. Avoid roots to protect knots.
- Thinning shears: Work from mid‑lengths to ends only. One light pass per section, then comb out to assess. Repeat sparingly.
Protecting the base and knots
- Hand-tied tops and lace fronts: Avoid aggressive thinning within 1–1.5 inches of the base to prevent “scalp show-through.”
- Wefted backs: Debulk between wefts, not on the stitch line. Cutting into stitching loosens tracks.
- Density zoning: Reduce bulk where density peaks—usually occipital and behind the ears—to prevent “Christmas tree” stacking at the nape.
Table: Safe debulking zones
| Cap area | Safe technique | Avoid |
|---|---|---|
| Lace front/hairline | Point-cut tips only | Thinning at root; cutting lace-bound knots |
| Hand-tied top | Slide-cut mid-to-ends | Shearing close to base; razor near knots |
| Wefted nape | Thinning between wefts | Snipping stitches; heavy thinning at roots |
Pro move: For face-framing layers, overdirect sections slightly forward when cutting—this keeps the perimeter soft and connected while preserving density at the hairline.
Should I trim lace and baby hairs before or after styling?
Short answer: I trim the lace before major cutting, but I refine baby hairs after styling.
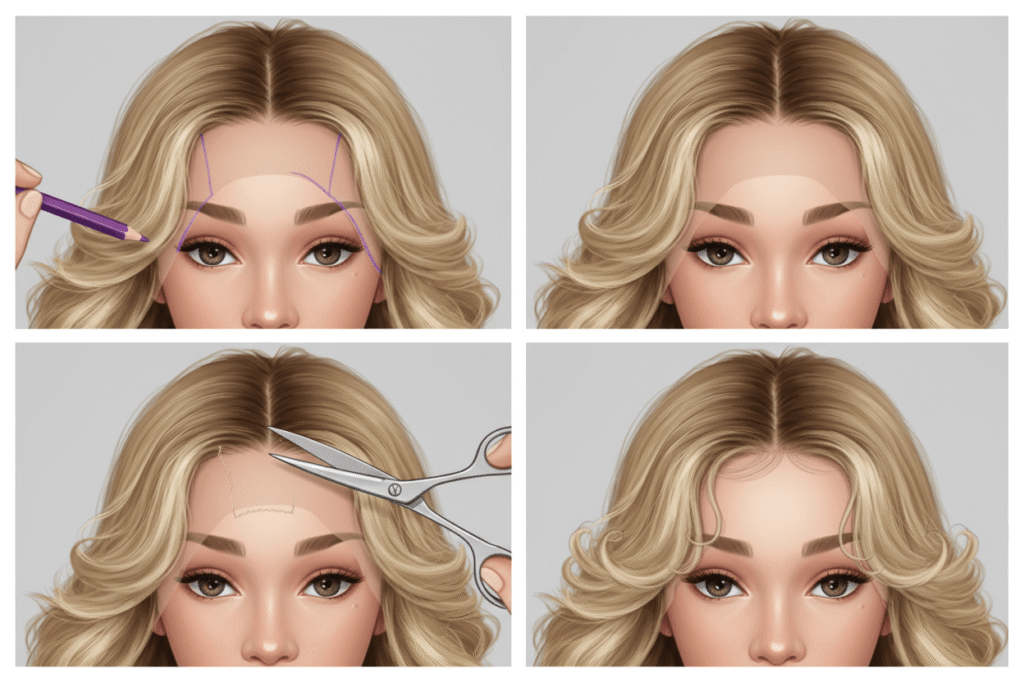
Lace sequence I follow
1) Fit and mark: Place the wig on the wearer, align the hairline, mark temples and widow’s peak with a cosmetic pencil.
2) Pre-style lightly: Smooth the hairline back so you can see the lace edge.
3) Trim the lace first: With sharp brow scissors, cut in a tiny zigzag 1–2 mm from the first row of hair. Work slowly around curves; never straight across.
4) Test laydown: Apply a light adhesive or spray to confirm that the lace disappears on the skin.
Baby hairs timing
- After heat-styling and final shape, I detail baby hairs. Why? Heat will alter their behavior; cutting them first risks them shrinking or sticking up post-style.
- Method: Isolate micro sections at the perimeter, angle shears to 45°, and point-cut to 6–10 mm lengths depending on density and face shape. Less is more.
Pro move: If the lace frays, you trimmed too far from the hairline in a straight line. The micro zigzag breaks up the edge and minimizes visibility without compromising knots.
When should I seek a stylist for precision cuts on premium units?
There are clear thresholds where pro intervention protects your investment—especially with premium hair and complex caps.
Call a specialist if:
- Hair origin and grade are premium: European single-donor, Eastern European fine Remy, or low‑density hand‑tied units. These command high costs; a bad cut destroys value.
- You need technical shapes: Blunt bobs with glassy lines, precision pixies, heavy fringes, or strong internal layering. These require advanced tension and elevation control.
- Cap complexity: Full hand‑tied caps, silk tops, or very light densities (<110%). One wrong thinning pass creates see‑through zones.
- Corrective work: You’ve over-thinned, created steps, or cut the perimeter too short. A stylist can blend with internal weight distribution you can’t DIY safely.
- Color services or chemical smoothing: Always salon-level for human hair wigs to protect cuticles and maintain knot strength.
Cost–risk perspective (B2B insight)
For brand owners supplying customer education, position pro services as “value insurance” for units with:
- Hair cost > $400, or full hand‑tied/silk top construction.
- Custom color/root shadowing or low-density designs.
- Retail cuts that materially affect resale/returnability.
My field-tested checklist you can follow today
- Secure the wig on a stable mannequin head, pin it in place, and detangle with a wide-tooth comb before any cutting.
- Cut when the hair is completely dry, working in small sections and checking symmetry frequently to avoid uneven lengths.
- Use sharp hairdressing shears, thinning scissors, and sectioning clips; avoid kitchen scissors to prevent frayed ends.
- Trim length by point-cutting the ends rather than making blunt straight cuts to maintain a natural look.
- For layers, elevate sections and slide-cut or use thinning shears to create soft, blended movement without harsh lines.
- Always cut less than you think—start with 1–3 mm at a time—because wig hair will not grow back and mistakes are hard to fix.
- Practice your intended cut on an inexpensive or old wig first to build confidence and refine technique.
- Map the face shape and desired style, then customize fringe and layer placement to frame features and reduce bulk where needed.
- If the wig has a lace front, trim the lace slowly in a zigzag motion close to the hairline to minimize fraying and visibility.
- Finish by lightly heat-styling within the fiber’s safe temperature range and use wig-friendly products to set shape without residue.
Quick troubleshooting
- Ends look blunt or “wiggy”: Revisit the perimeter with gentle point-cutting; add micro face-framing to break the line.
- Triangle volume at the sides: Remove weight internally at mid-lengths with thinning shears—one pass, then reassess.
- See‑through patches after thinning: Stop. Shift weight from adjacent sections via soft slide-cuts at the ends; avoid more root thinning.
- Lace visible in daylight: Re-trim in micro zigzags; tone the lace with a matching tint spray or powder at the edge.
Conclusion
Cutting and styling a human hair wig at home is safe and effective when you control the setup, work dry and in micro-increments, and protect the cap and knots at all times. Use professional tools, section with intent, point-cut perimeters, and add layers through elevation and mid‑to‑end debulking. Trim lace first, baby hairs last, and escalate to a stylist for precision shapes or premium, low-density units. If you follow these factory-informed steps, you’ll achieve salon-level results while safeguarding the longevity—and value—of your wig.