Many wig wearers notice that results can swing from silky and polished to dry and frizzy—often from using the wrong tools or too much heat. In the studio and on salon backbars, I’ve seen gorgeous cuticles ruined by hot spots, knots loosened at the lace, and curls that drop after an hour because they weren’t set correctly.
Use ceramic or tourmaline tools with precise controls, keep temperatures between 250–300°F (120–150°C), apply a salon-grade heat protectant on dry hair, work in small, tensioned sections on a canvas block head, avoid the lace area, and let curls cool pinned to set. For finer or processed wigs, stay closer to 250–275°F; for thicker or virgin hair, you can edge toward 300°F.
This matters to both consumers and B2B buyers. Proper heat protocols protect cuticles and knots, extend service life, reduce after-sales issues, and maintain brand trust. For salons, distributors, and OEM partners, standardized temperature ranges and tool specs reduce returns, boost client satisfaction, and keep inventory looking premium longer.
What temperature ranges protect my cuticles and knots?
When we manufacture and QC human hair wigs, we treat heat like a chemical—dose and exposure time determine outcomes. The cuticle (outer layer) is your first barrier; once it’s chipped or lifted, tangling, dryness, and frizz escalate. Knots at the lace are vulnerable to both heat and tension.
Safe working ranges (by hair category)
- Fine/processed, colored (Level 7+), or chemically lifted: 250–275°F (120–135°C)
- Medium/standard Remy: 265–290°F (129–143°C)
- Coarse or thicker virgin Remy: 280–300°F (138–150°C)
Avoid exceeding 300°F on wigs. While some natural hair can tolerate more, wigs lack scalp oils and live moisture cycles, so they dry out faster and degrade sooner.
Time-on-strand matters
- Contact time: 3–6 seconds per pass for irons, max 2 passes if you’re using a comb-chase.
- Curling dwell: 5–8 seconds, then pin to cool—setting beats “more heat.”
- Blow-dryer: Low to medium heat; keep the nozzle moving. Use cool shots to set.
Protecting knots and lace
- Keep irons and wands 0.5–1 inch away from the lace line.
- Use a concentrator and low heat around hairline; direct airflow along the hair, not into the lace.
- Never clamp irons over bleached knots—this is where shedding starts.

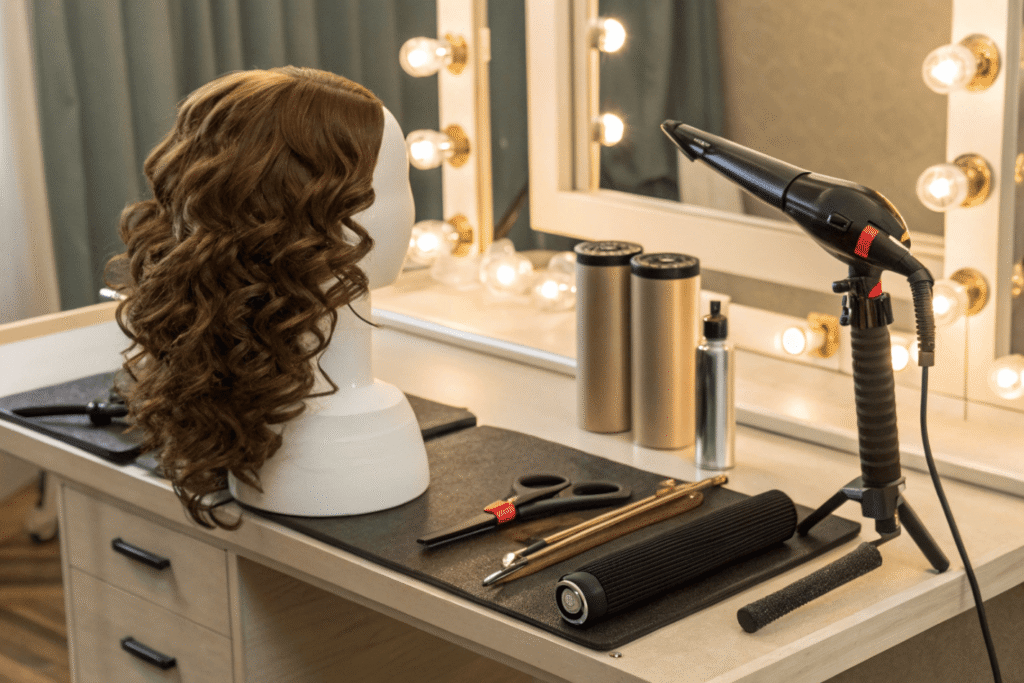
Which tools—ceramic irons, heat-protectant sprays—are essential?
Over hundreds of salon trainings, the biggest difference between a “salon finish” and damage is even heat and correct prep. Here’s the kit I recommend for teams and pro backbars.
Core hot tools
- Ceramic or tourmaline flat iron (1–1.25″): even heat, reduced hot spots, smooth glide.
- Ceramic/tourmaline curling wand (0.75–1.25″): faster set at lower temps than metal barrels.
- Ionic blow-dryer with concentrator: better cuticle lay-down, less frizz, lower thermal stress.
- Hot rollers (optional): gentler volume and wave without direct clamp heat.
Prep and control tools
- Canvas block head + clamp/tripod + T-pins: stable base without pulling on lace; pin at ear tabs and nape only.
- Heat-resistant tail comb for “comb-chase” with the iron: creates tension and alignment.
- Sectioning clips and duckbills for clean, small subsections.
- Digital infrared thermometer (optional): verify tool temps and avoid “mystery heat.”
Product essentials
- Salon-grade heat protectant spray (fine mist, non-sticky). Apply to dry hair, allow to air off fully.
- Lightweight serum or silicone blend for mid-lengths/ends after styling to seal and add slip.
- Lightweight working spray or setting lotion (alcohol-balanced) to support memory without stiffness.
- Deep conditioner/mask for post-heat recovery.
Quick comparison: plates, barrels, and outcomes
| Tool/Material | Heat Distribution | Best For | Notes |
|---|---|---|---|
| Ceramic plates | Very even | Sleek passes at lower temps | Gentle on cuticles; fewer hot spots |
| Tourmaline ceramic | Even + ionic | Smooth finish, reduced static | Great for frizz-prone Remy |
| Titanium | Fast heat-up | Coarse, resistant hair | Can run hot; keep ≤300°F on wigs |
| Hot rollers | Gentle, indirect | Volume, soft waves | Safer for frequent stylers |
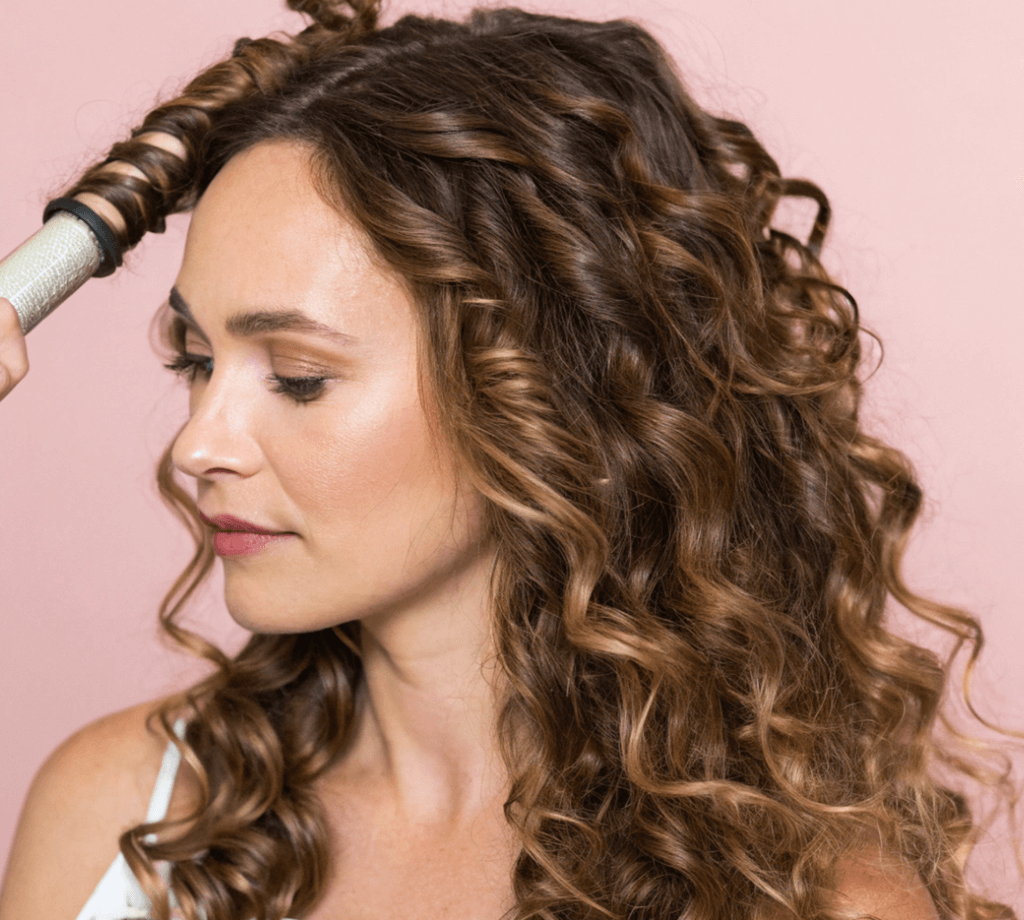
How do I set curls that last without stiffness?
If you’re cranking up heat to “force” curls, you’re treating the symptom, not the cause. Longevity comes from tension, moisture balance, and cooling time—not higher temperature.
Pro workflow for lasting curls
1) Prep clean, fully dry hair
- Light leave-in for slip (avoid heavy oils).
- Mist heat protectant evenly; let it dry completely.
2) Mount and section on a canvas block head
- Pin at nape/ear tabs.
- Create 1-inch sections for tighter curls, 1.25-inch for waves.
3) Set at 270–295°F depending on hair density
- Wrap cleanly and evenly around a ceramic/tourmaline barrel.
- Hold 5–8 seconds max.
4) Pin-curl to cool
- Slide curl into your palm, maintain its loop, clip flat to the base.
- Allow full cool-down (10–20 minutes). This “locks” hydrogen bonds—no stiffness required.
5) Break the cast, not the curl
- Once cool, remove pins, mist a micro-amount of flexible spray, then rake with fingers or a wide-tooth comb.
- Finish with a drop of serum on ends only.
Setting aids that don’t make hair crunchy
- Lightweight setting lotion (diluted 1:3 with water) for memory.
- Flexible-hold working spray focused on mid-lengths (avoid roots and lace).
- For humidity control, use an anti-humidity shield on the outer veil only.
Why curls fall—and how to fix
- Too large sections: reduce width to match barrel size.
- Over-conditioned hair: clarify lightly, then re-condition mid-lengths/ends only.
- No cool-down: pin and fully cool or use a cool shot for 10–15 seconds.
- Heavy oils/silicones before heat: they can “slip” the curl; apply finishers after setting.
Can I safely combine blowouts and flat irons on the same wig?
Yes—done correctly, the blowout creates direction and cuticle alignment so the flat iron can finish at a lower temperature with fewer passes.
Safe combined-styling protocol
- Step 1: Pre-dry to 80–90% with low/medium heat and high airflow, using a concentrator. Keep airflow down the hair shaft.
- Step 2: Round-brush or paddle-brush blowout to smooth. Focus on tension, not heat.
- Step 3: Flat iron at 260–290°F using the comb-chase method, 1–2 passes max.
- Step 4: Finish with cool shot to set, then micro-dose serum on ends.
Guardrails around lace and longevity
- Keep dryers on low heat at the hairline; never hover heat over knots.
- Do not clamp irons near lace fronts or closures—stop 0.5–1 inch back.
- If you’ve blow-dried thoroughly and achieved smoothness, reduce iron temp by ~10–20°F versus your usual.
Common mistakes we see in salons—and the fix
- Mistake: Repeated iron passes to chase frizz after a hot blowout.
Fix: Lower blow-dryer heat, increase tension/airflow direction; then use a single light iron pass. - Mistake: Spritzing protectant and immediately ironing damp product.
Fix: Always let protectant flash-dry first to avoid steam damage and bubbles in the cuticle. - Mistake: Pulling on lace while round-brushing.
Fix: Pin securely on a block head; guide hair from mid-shaft outward, not from knots.
Step-by-step: Straighten like a pro (comb-chase method)
1) Detangle dry hair from ends upward.
2) Apply heat protectant and dry fully.
3) Set iron to 260–285°F based on hair density.
4) Take a 0.5–0.75 inch subsection; place a heat-resistant fine-tooth comb at the base.
5) Chase the comb immediately with the iron in one smooth pass.
6) Repeat only once if needed.
7) Cool, then apply a pea-sized amount of serum to mid-lengths/ends.
Care cycle to offset heat exposure
- After any heat session: allow hair to cool, then store on a mannequin head to preserve shape.
- Every 3–5 wear days of heat: deep-condition (avoid saturating knots; focus mid-lengths/ends).
- Monthly: clarifying wash (gentle) to remove product, followed by a rich mask.
- Ongoing: Keep tools clean; residue creates drag and hot spots. Test temperature on a hidden nape section first.
Maintenance quick table
| Routine | Frequency | Why it matters |
|---|---|---|
| Deep condition | Every 3–5 heat uses | Restores moisture lost to heat |
| Trim ends | Every 6–8 weeks of regular wear | Removes split ends that frizz |
| Tool cleaning | Weekly in pro use | Prevents snagging, reduces uneven heat |
| Temperature test | Each session | Confirms lowest effective heat |

Conclusion
Heat styling human hair wigs is about precision, not power. With ceramic/tourmaline tools at 250–300°F, a dry-applied heat protectant, controlled sections on a canvas block head, and proper cooling, you’ll achieve sleek finishes and lasting curls while protecting cuticles and knots. For salons, wholesalers, and OEM partners, adopting these standards in training and product guides reduces damage claims, extends product life, and elevates client satisfaction. If you’re building education for your team or customers, use this protocol as your baseline—and your wigs will look showroom-ready far longer.